- 877.942.5613
- info@paveconnect.com
- We Never Close 24/7/365
- 877-942-5613
- info@paveconnect.com

How to Deice Your Parking Lot Without Causing Damage
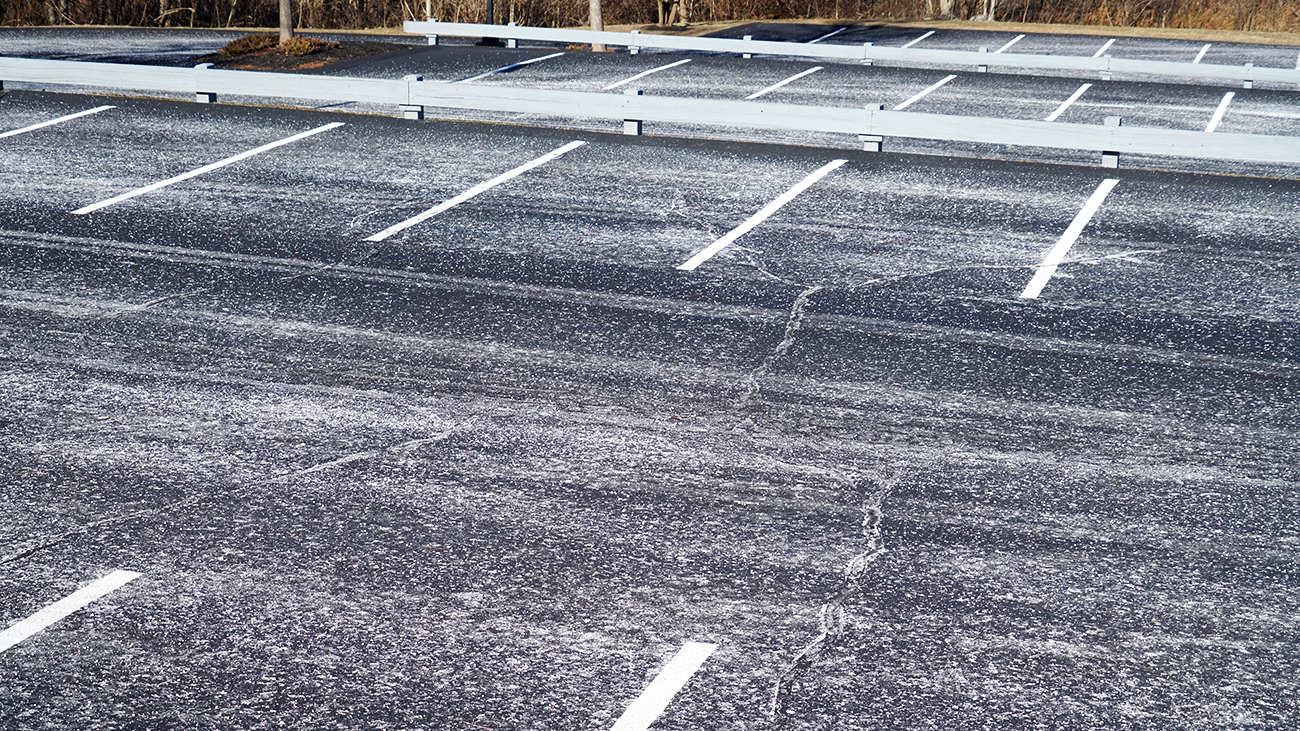
Winter weather can present unique challenges for facility managers, especially when it comes to maintaining safe and accessible parking lots. Facility managers face a difficult balance: removing ice to prevent slips and falls while protecting their pavement investment from chemical damage.
The wrong deicing approach can lead to expensive repairs, including surface deterioration, structural cracks, and drainage problems. Understanding how different deicing materials interact with asphalt and concrete helps you maintain safe surfaces without shortening your pavement’s lifespan.
This guide covers the science behind deicing products, compares traditional and modern options, and provides practical application techniques that protect both people and property, ensuring your parking lots are winter-ready.
Related Article:
Understanding How Deicing Products Affect Your Pavement
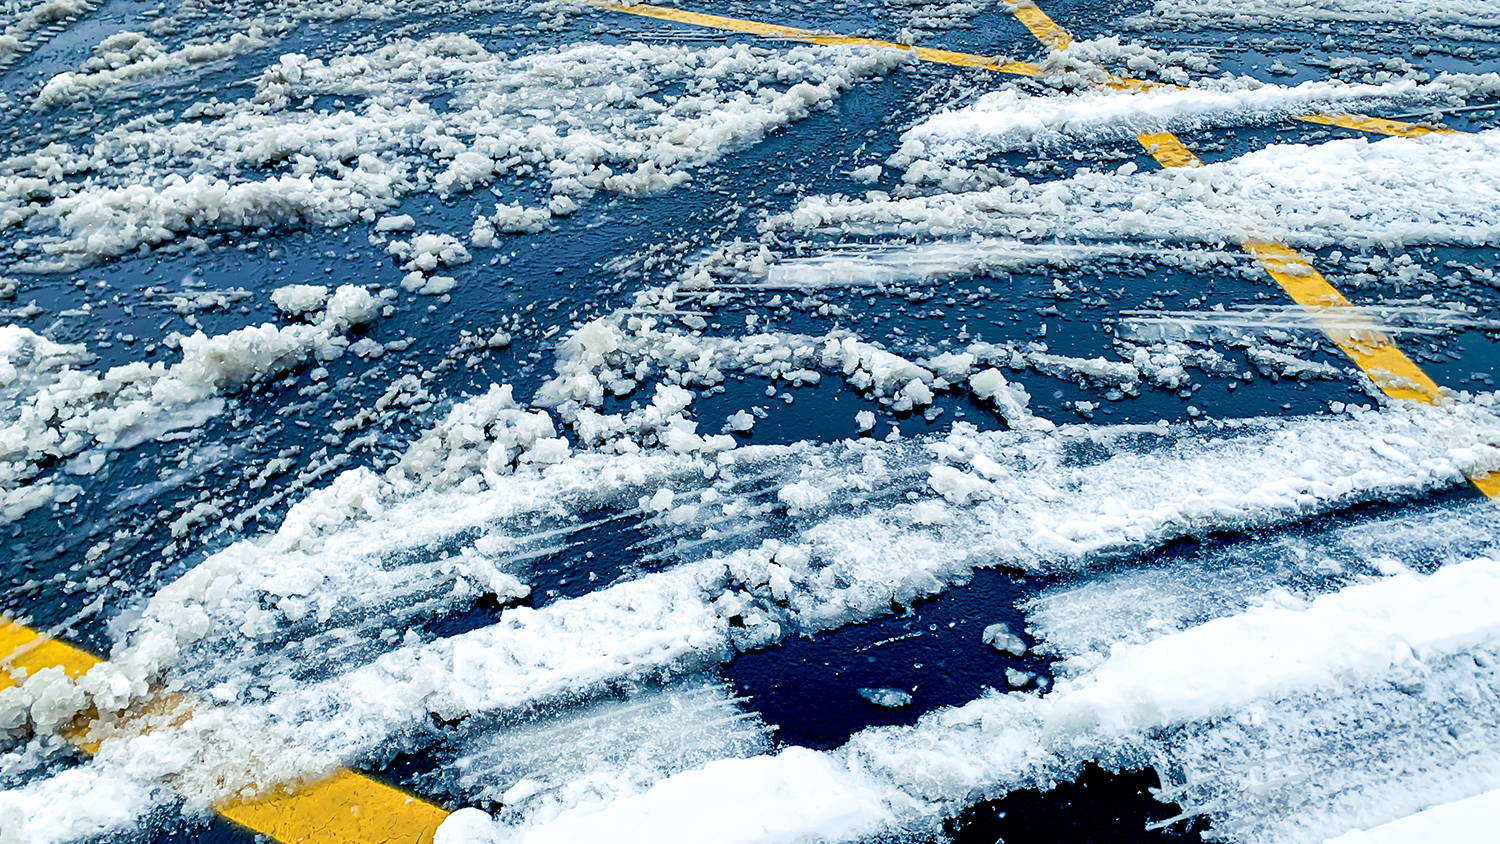
Different deicing agents interact with pavement materials in distinct ways. Sodium chloride (rock salt) works by lowering water’s freezing point, but it also accelerates the freeze-thaw cycle that damages concrete and asphalt.
When salt penetrates pavement pores, trapped moisture expands during freezing, creating surface scaling and internal cracks. Concrete faces particular vulnerability because salt reacts with calcium hydroxide in the mixture, weakening the bond between aggregate and cement paste.
Asphalt suffers differently—deicing chemicals can strip away binder oils, leaving surfaces brittle and prone to raveling. The corrosion extends beyond pavement to affect rebar in concrete, metal drainage structures, and nearby vehicles.
Temperature plays a critical role in chemical effectiveness and damage potential. Most deicers lose effectiveness below certain thresholds, yet facility managers often over-apply products during extreme cold, increasing chemical exposure without improving results.
Choosing the Right Deicing Material for Your Parking Lot
Selecting the right deicing product starts with understanding your pavement material. Asphalt and concrete respond differently to deicing agents, so it’s crucial to choose products designed for your lot’s surface. Look for labels indicating “pavement-safe” or “concrete-safe” to minimize long-term damage.
Another factor to consider is corrosion resistance. Many deicers can harm surrounding infrastructure, vehicles, and landscaping, so opt for products that balance effectiveness with reduced corrosiveness. Additionally, consider the environmental impact of your choice. Runoff from certain deicers can harm nearby plants and water sources, making eco-friendly options a smart choice. Finally, ensure the product works in your local climate by checking its temperature effectiveness range.
Salt (Sodium Chloride)
Salt is a popular and affordable deicer, known for its ability to melt ice effectively in moderate temperatures. However, it’s highly corrosive and can damage concrete, asphalt, and nearby vegetation. Its effectiveness also drops in extremely cold temperatures, making it less reliable during deep freezes.
Sand
While sand doesn’t melt ice, it provides traction, making it a useful option for icy conditions. It’s non-corrosive and safe for pavement but can create issues like clogged drainage systems and require significant cleanup after use. Excessive sand can also lead to dust and debris buildup.
Modern Deicing Alternatives: CMA, Potassium Acetate, and Magnesium Chloride
Options like calcium magnesium acetate (CMA), potassium acetate, and urea are less corrosive and more environmentally friendly. They work at lower temperatures and are safer for pavement but come with a higher price tag. These alternatives may require larger quantities to achieve the same level of effectiveness as traditional salt.
PaveConnect Can Help Give Advice on Deicing Your Parking Lot!
Anti-Icing vs. Deicing: Proactive Parking Lot Protection
Anti-icing prevents ice from bonding to pavement surfaces by applying liquid treatments before precipitation arrives. This proactive approach costs less than reactive deicing because it uses less material and requires less labor.
Liquid anti-icing products spread evenly across pavement, creating a thin chemical barrier that prevents ice formation. The treatment can remain effective for several days depending on traffic, temperature, and precipitation amounts.
Anti-icing works best when applied to clean, dry pavement before storm events. It reduces the freeze-thaw cycling that damages pavement because ice never bonds firmly to the surface.
Deicing, by contrast, breaks the bond between existing ice and pavement after it has already formed. This reactive approach requires more material because the chemical must penetrate through ice layers to reach the pavement surface.
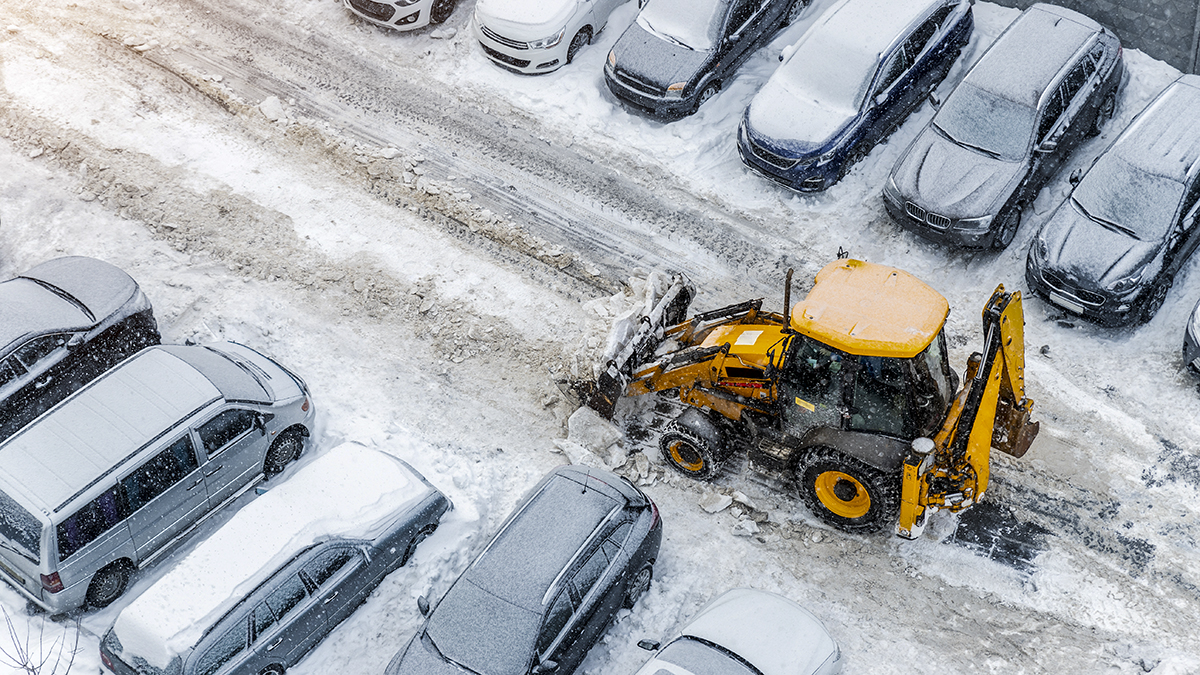
Deicing applications work best when paired with mechanical removal—chemicals weaken the ice-pavement bond, so plowing removes material more effectively. The most effective winter maintenance programs combine both approaches: anti-icing for predicted events and deicing for unexpected icing or when anti-icing treatments fail in order to mitigate the damaging effects of winter.
Related Article:
Strategic Application Techniques That Minimize Pavement Damage
How you apply deicing products matters as much as which products you choose. Following proper application steps protects your pavement while maintaining safety.
Step 1: Calculate Your Coverage Area
Measure your parking lot to determine total square footage. This prevents over-application and helps you budget materials accurately for the entire winter season.
Step 2: Check Manufacturer Guidelines
Review product instructions for recommended coverage rates, typically measured in pounds per thousand square feet. Different products require different amounts—more doesn’t mean better results.
Step 3: Calibrate Your Spreader
Test your equipment before the season starts to verify it delivers the correct application rate. Spreaders can drift out of calibration, leading to waste or insufficient coverage.
Step 4: Start at Elevated Areas
Begin applications at the highest points of your parking lot and work downward. Gravity helps distribute materials naturally, reducing the amount of product needed.
Step 5: Apply Products Evenly
Use consistent spreading speeds and overlapping passes to create uniform coverage. Avoid concentrating heavy amounts in specific zones, which increases chemical exposure and pavement damage.
Step 6: Prioritize High-Traffic Zones First
Treat building entrances, accessible parking spaces, and main travel lanes before addressing less-used areas. This approach manages liability concerns while products activate.
Step 7: Allow Time for Chemical Activation
Give deicing products 15-30 minutes to work before plowing or adding more material. Rushing this process wastes product and money.
Step 8: Keep Chemicals Away from Landscaping
Avoid piling treated snow near plants, grass areas, or garden beds. Concentrated runoff during melting can damage or kill vegetation.
Step 9: Monitor Results and Adjust
Check treated areas after initial application. If ice persists, evaluate whether you need more product, a different material, or mechanical removal assistance.
Special Considerations for Parking Garages and Covered Areas
Parking garages present unique deicing challenges due to limited ventilation, trapped moisture, and structural concerns. Many garage floors use post-tensioned concrete that’s particularly vulnerable to chloride corrosion—salt can damage the internal cables that provide structural support.
Use non-corrosive deicing products or rely more heavily on mechanical removal and sand for traction in garage environments. The enclosed nature of these structures means chemicals and moisture linger longer than on exterior surfaces, increasing exposure time and potential damage.
Garage entrance and exit ramps need aggressive treatment since vehicles track in ice and snow from exterior lots. These transition zones often stay colder than exterior surfaces due to reduced sun exposure and constant shade.
The temperature difference between heated garage interiors and cold ramps creates perfect conditions for ice formation. Monitor these high-risk areas more frequently than open parking areas.
Improve drainage at garage entrances to prevent water from flowing onto ramps and freezing. Standing water in transition zones turns into black ice rapidly, creating serious liability concerns.
Covered parking areas under canopies or structures experience less direct precipitation but can develop ice from dripping meltwater and condensation. Monitor these areas separately from open parking lots since they may need treatment at different times than exposed surfaces.
Protect Your Parking Lot This Winter With PaveConnect!
Year-Round Pavement Maintenance to Reduce Winter Damage
Parking lots in good condition withstand deicing chemicals better than deteriorated surfaces. Cracks and surface defects allow chemicals and water to penetrate deeper into pavement structure, accelerating damage.
Fall Preparation Tasks:
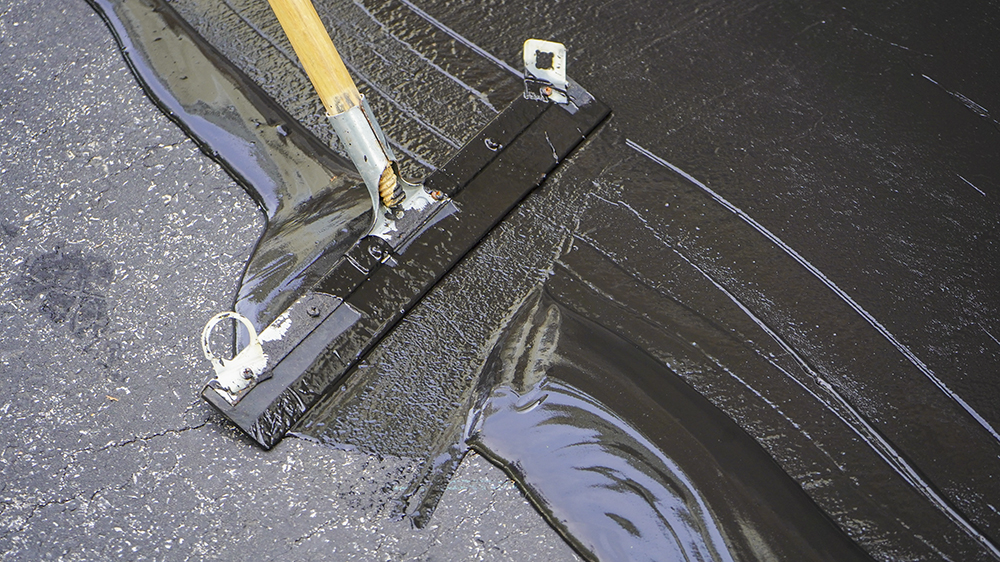
- Seal all cracks to prevent moisture infiltration during winter months
- Apply sealcoating to create a protective barrier against chemicals and water
- Clean parking lots thoroughly to remove debris that traps chemicals against pavement
- Inspect and clean catch basins to handle increased runoff from snowmelt
- Repair potholes and surface defects before freezing temperatures arrive
- Check drainage systems to prevent water pooling and ice formation
Winter Monitoring Activities:
- Document deicing product usage and application locations
- Note areas where ice forms repeatedly for drainage improvements
- Track which products perform best in different temperature ranges
- Identify pavement sections showing early signs of chemical damage
- Monitor edge conditions where salt accumulation is highest
Spring Repair Priorities:
- Inspect surfaces for scaling, spalling, and crack growth
- Address joint deterioration between asphalt and concrete sections
- Repair areas with visible chemical damage before problems spread
- Flush and inspect drainage systems for accumulated sand and debris
- Plan summer sealcoating for surfaces showing weather stress
- Evaluate total winter damage costs to inform next season’s product choices
Long-Term Protection Strategies:
- Schedule crack sealing every 2-3 years to maintain surface integrity
- Apply sealcoating every 3-4 years for asphalt surfaces
- Replace severely damaged sections rather than patching repeatedly
- Improve drainage to reduce standing water and ice formation
- Consider pavement design changes in areas with recurring problems
- Budget for preventive maintenance to avoid costly emergency repairs
Related Article:
PaveConnect Provides Expert Parking Lot Maintenance and Deicing Solutions
Protecting your parking lot during winter requires more than just picking the right deicing product. The interaction between pavement condition, product selection, application techniques, and maintenance timing determines whether your surfaces survive winter intact or require expensive spring repairs.
PaveConnect specializes in commercial parking lot maintenance with services that prepare your property for winter challenges and repair damage when it occurs, including crack sealing, sealcoating, and asphalt repair services that improve your pavement’s resistance to winter damage.
Our nationwide service network means our paving and concrete contractors understand regional climate challenges across the nation and can tailor maintenance programs to your location’s specific winter conditions.
Contact PaveConnect to develop a winter maintenance strategy that keeps your parking lot safe without sacrificing pavement longevity.
© 2019 All rights Reserved.